

I love this time of year - not because of Halloween, but because of the Day of the Dead. Apart from the actual celebration being part of UNESCO World Heritage - which is exciting and important, I love it because of what it represents. In Mexico, we see this festivity as a time to be happy and to remember and honour the loved ones that have left us.
The most representative thing about this celebration is the shrine or altar. These altars can be very simple or very complex, and can be built at the cemetery, at home or at work. They all have something in common: they contain food and drink - what the person or persons used to love in life, plus candles, pictures, flowers, and bread, among other things.
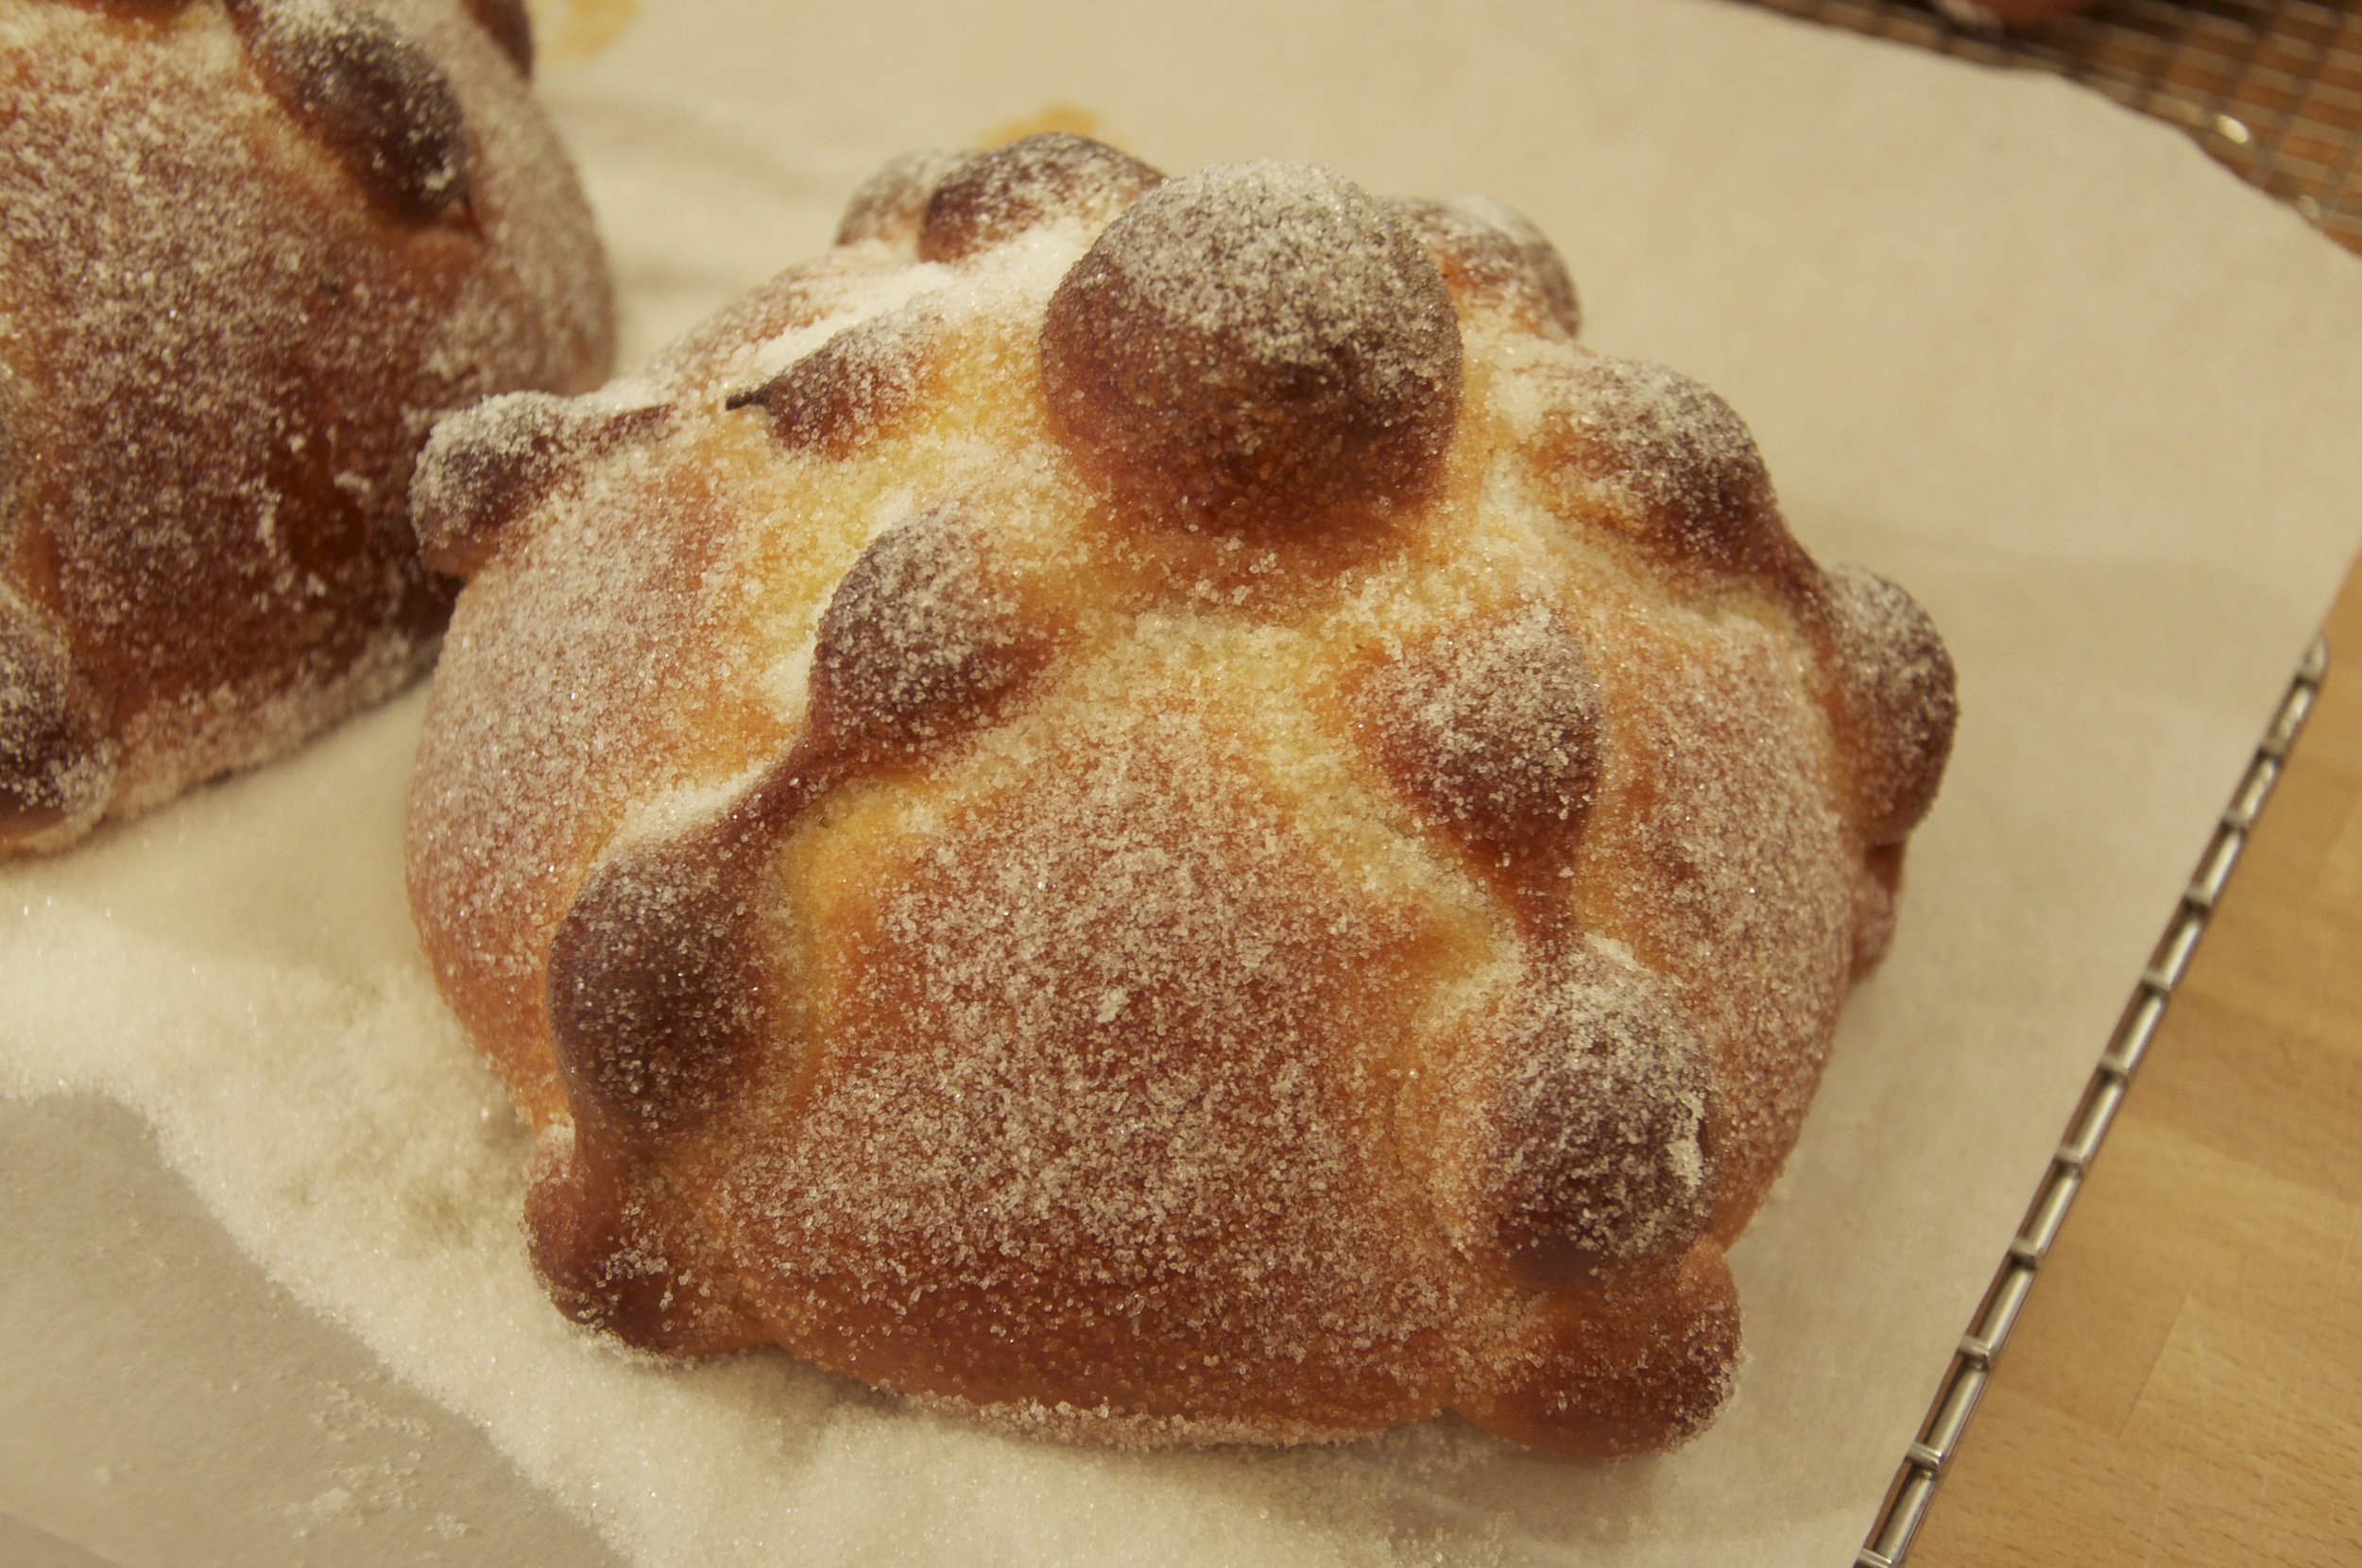
One of the items that must be included in the altars is the "Pan de Muerto", or Day of the Dead Bread. In most of Mexico, it is a round loaf decorated with bones and skull, but in Oaxaca it is a simple round loaf decorated with sesame seeds. In other regions of Mexico, the breads adopt different shapes, but in all cases, it is a rich eggy dough that is slightly sweet and delicious, made for enjoying with a mug of frothy Mexican hot chocolate.
The Oaxacan loaf is flavoured with aniseed and orange rind, while the other more common loaf is often flavoured with orange blossom water (or zest), or not at all. In recent years, bakeries in Mexico started making the traditional loaves filled with pastry cream or cajeta.
I love the flavours of the Oaxacan bread, but I also love the look of the decorated loaf, so taking a little bit of creative licence, I merged them both in this recipe.
In the finished product, we have the rich, eggy dough flavoured with aniseed and orange that I love so much, but it is shaped in the traditional way with bones and skull.It is a bit of a process, since this recipe requires a starter, but the end result is worth it.
To make this Pan de Muerto you need:

Starter:
2 cups flour
3/4 tsp salt
1/4 cup sugar
3/4 Tbsp active dry yeast
1/3 cup water
2 eggs
Dough:
Starter
1/2 cup sugar
7 Tbsp butter
2 cups flour
4 egg yolks + 1 Tbsp water
1/8 cup water
grated rind of 1 orange
½ tsp anise seeds
Glaze:
2 egg yolks
Garnish:
melted butter
¼ cup sugar
Starter: dissolve yeast in water and when it’s foamy add the rest of the ingredients, beating well until it’s mixed thoroughly. Place in a greased bowl and let rise, covered, until doubled. Starter can mature overnight in fridge. Next day, bring to room temperature before working with it.

Place starter, sugar, butter, egg yolks, water, orange rind and anise seeds in mixer bowl.
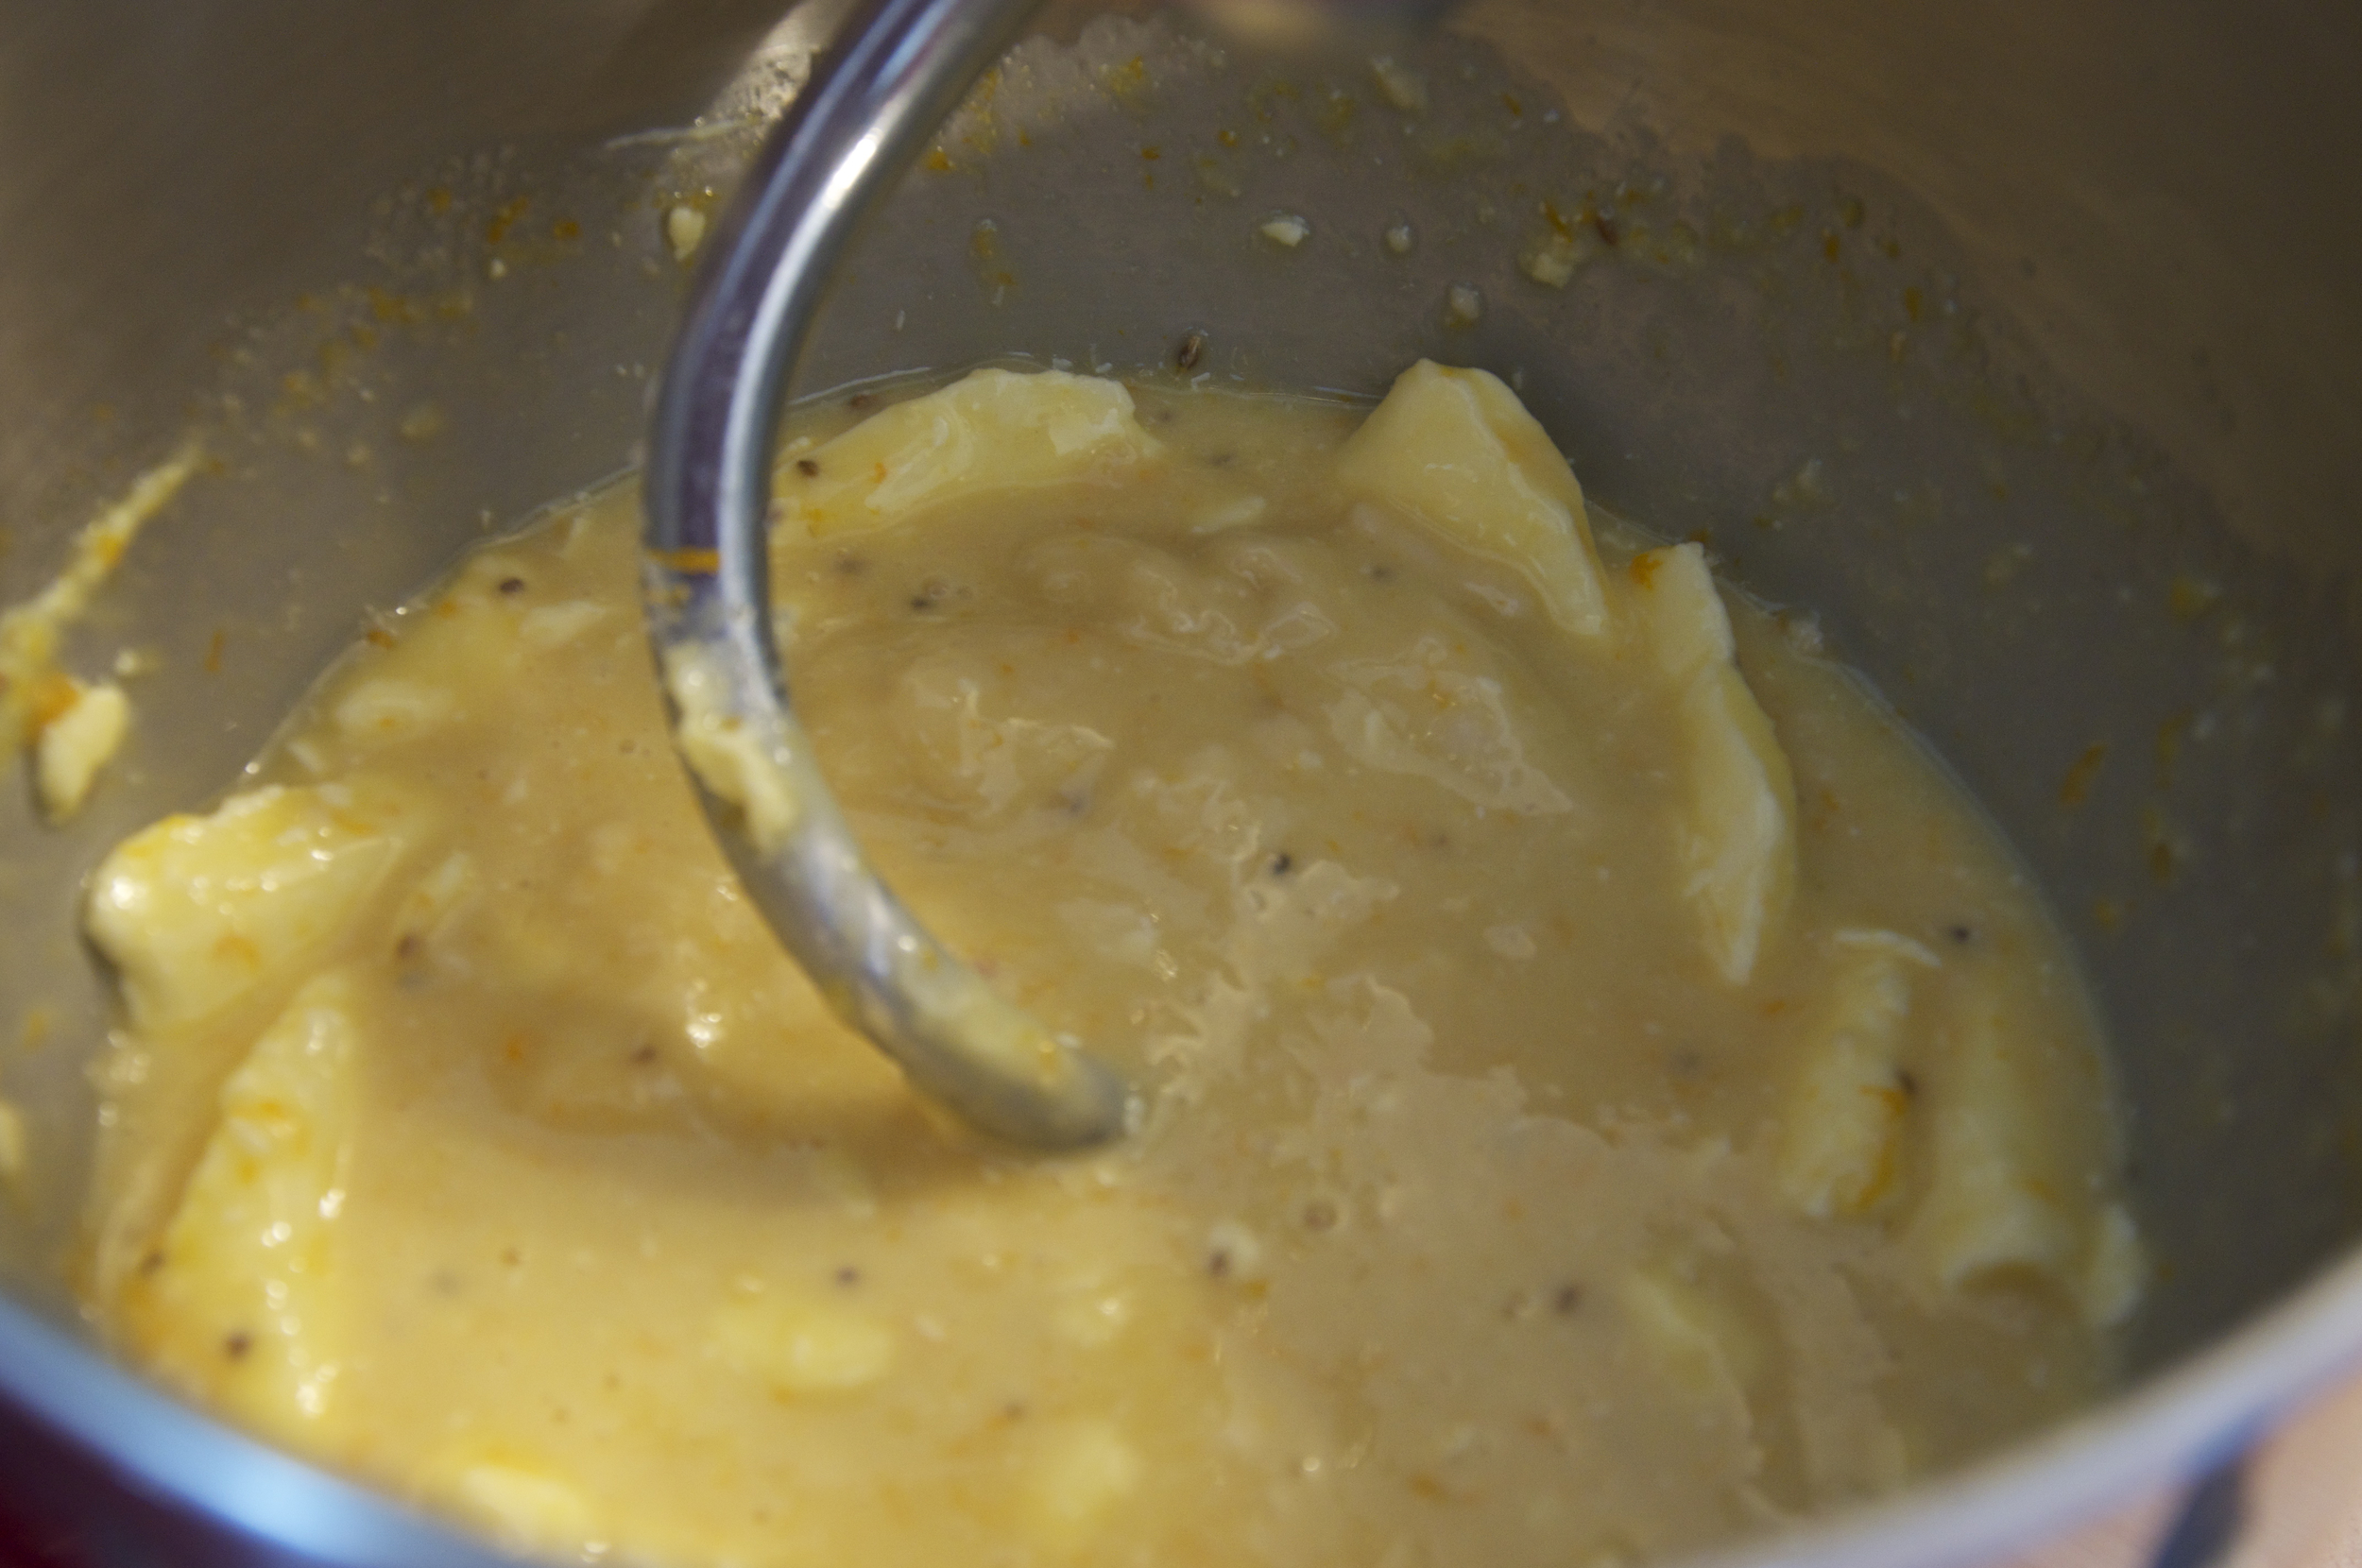
Mix well using the dough hook.
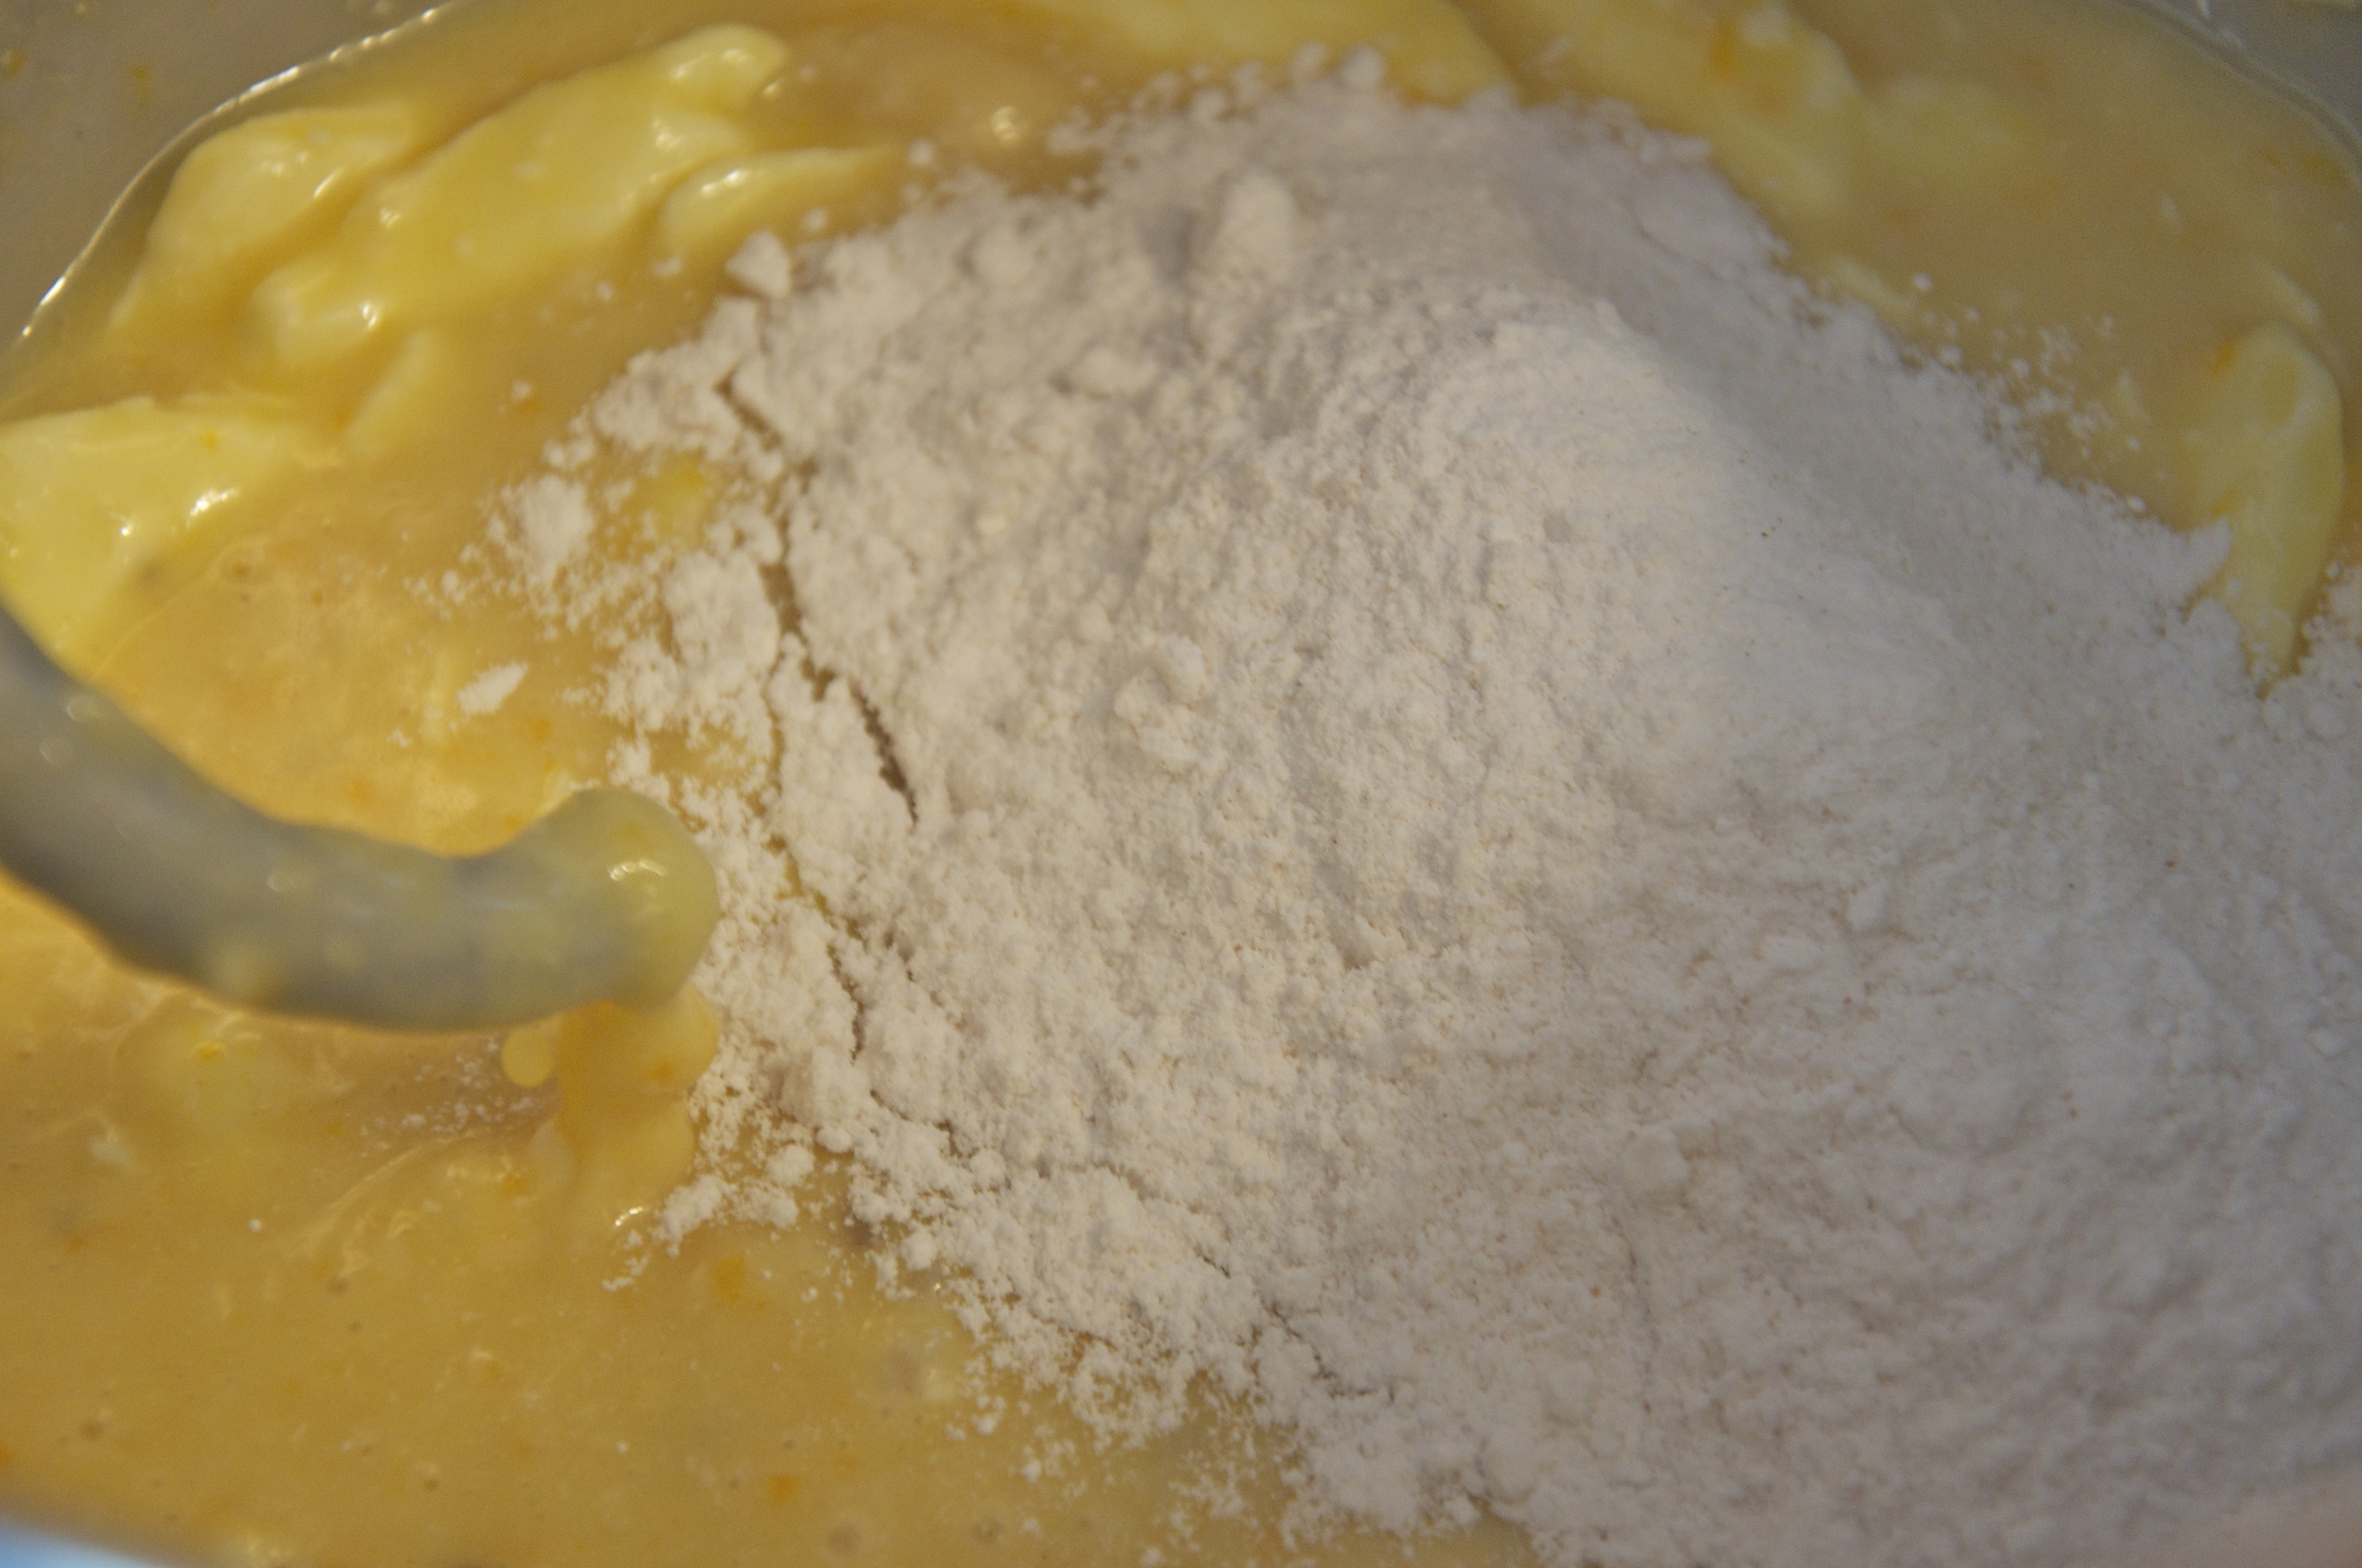
Start adding enough flour to make a sticky but manageable dough.

This is what the dough looks like. It is still very sticky at this point, but I like to take it out of the bowl and finish it by hand. I feel I have more control of the dough if I use my hands. Sometimes you can add too much flour if the machine does all the work for you, since it is harder to feel the texture of the dough.

Place the dough on a floured board and start kneading, adding flour as needed to make a smooth dough.

After a few minutes, the dough will look like this. At this point, it will not accept any more flour, so it is ready to rest.
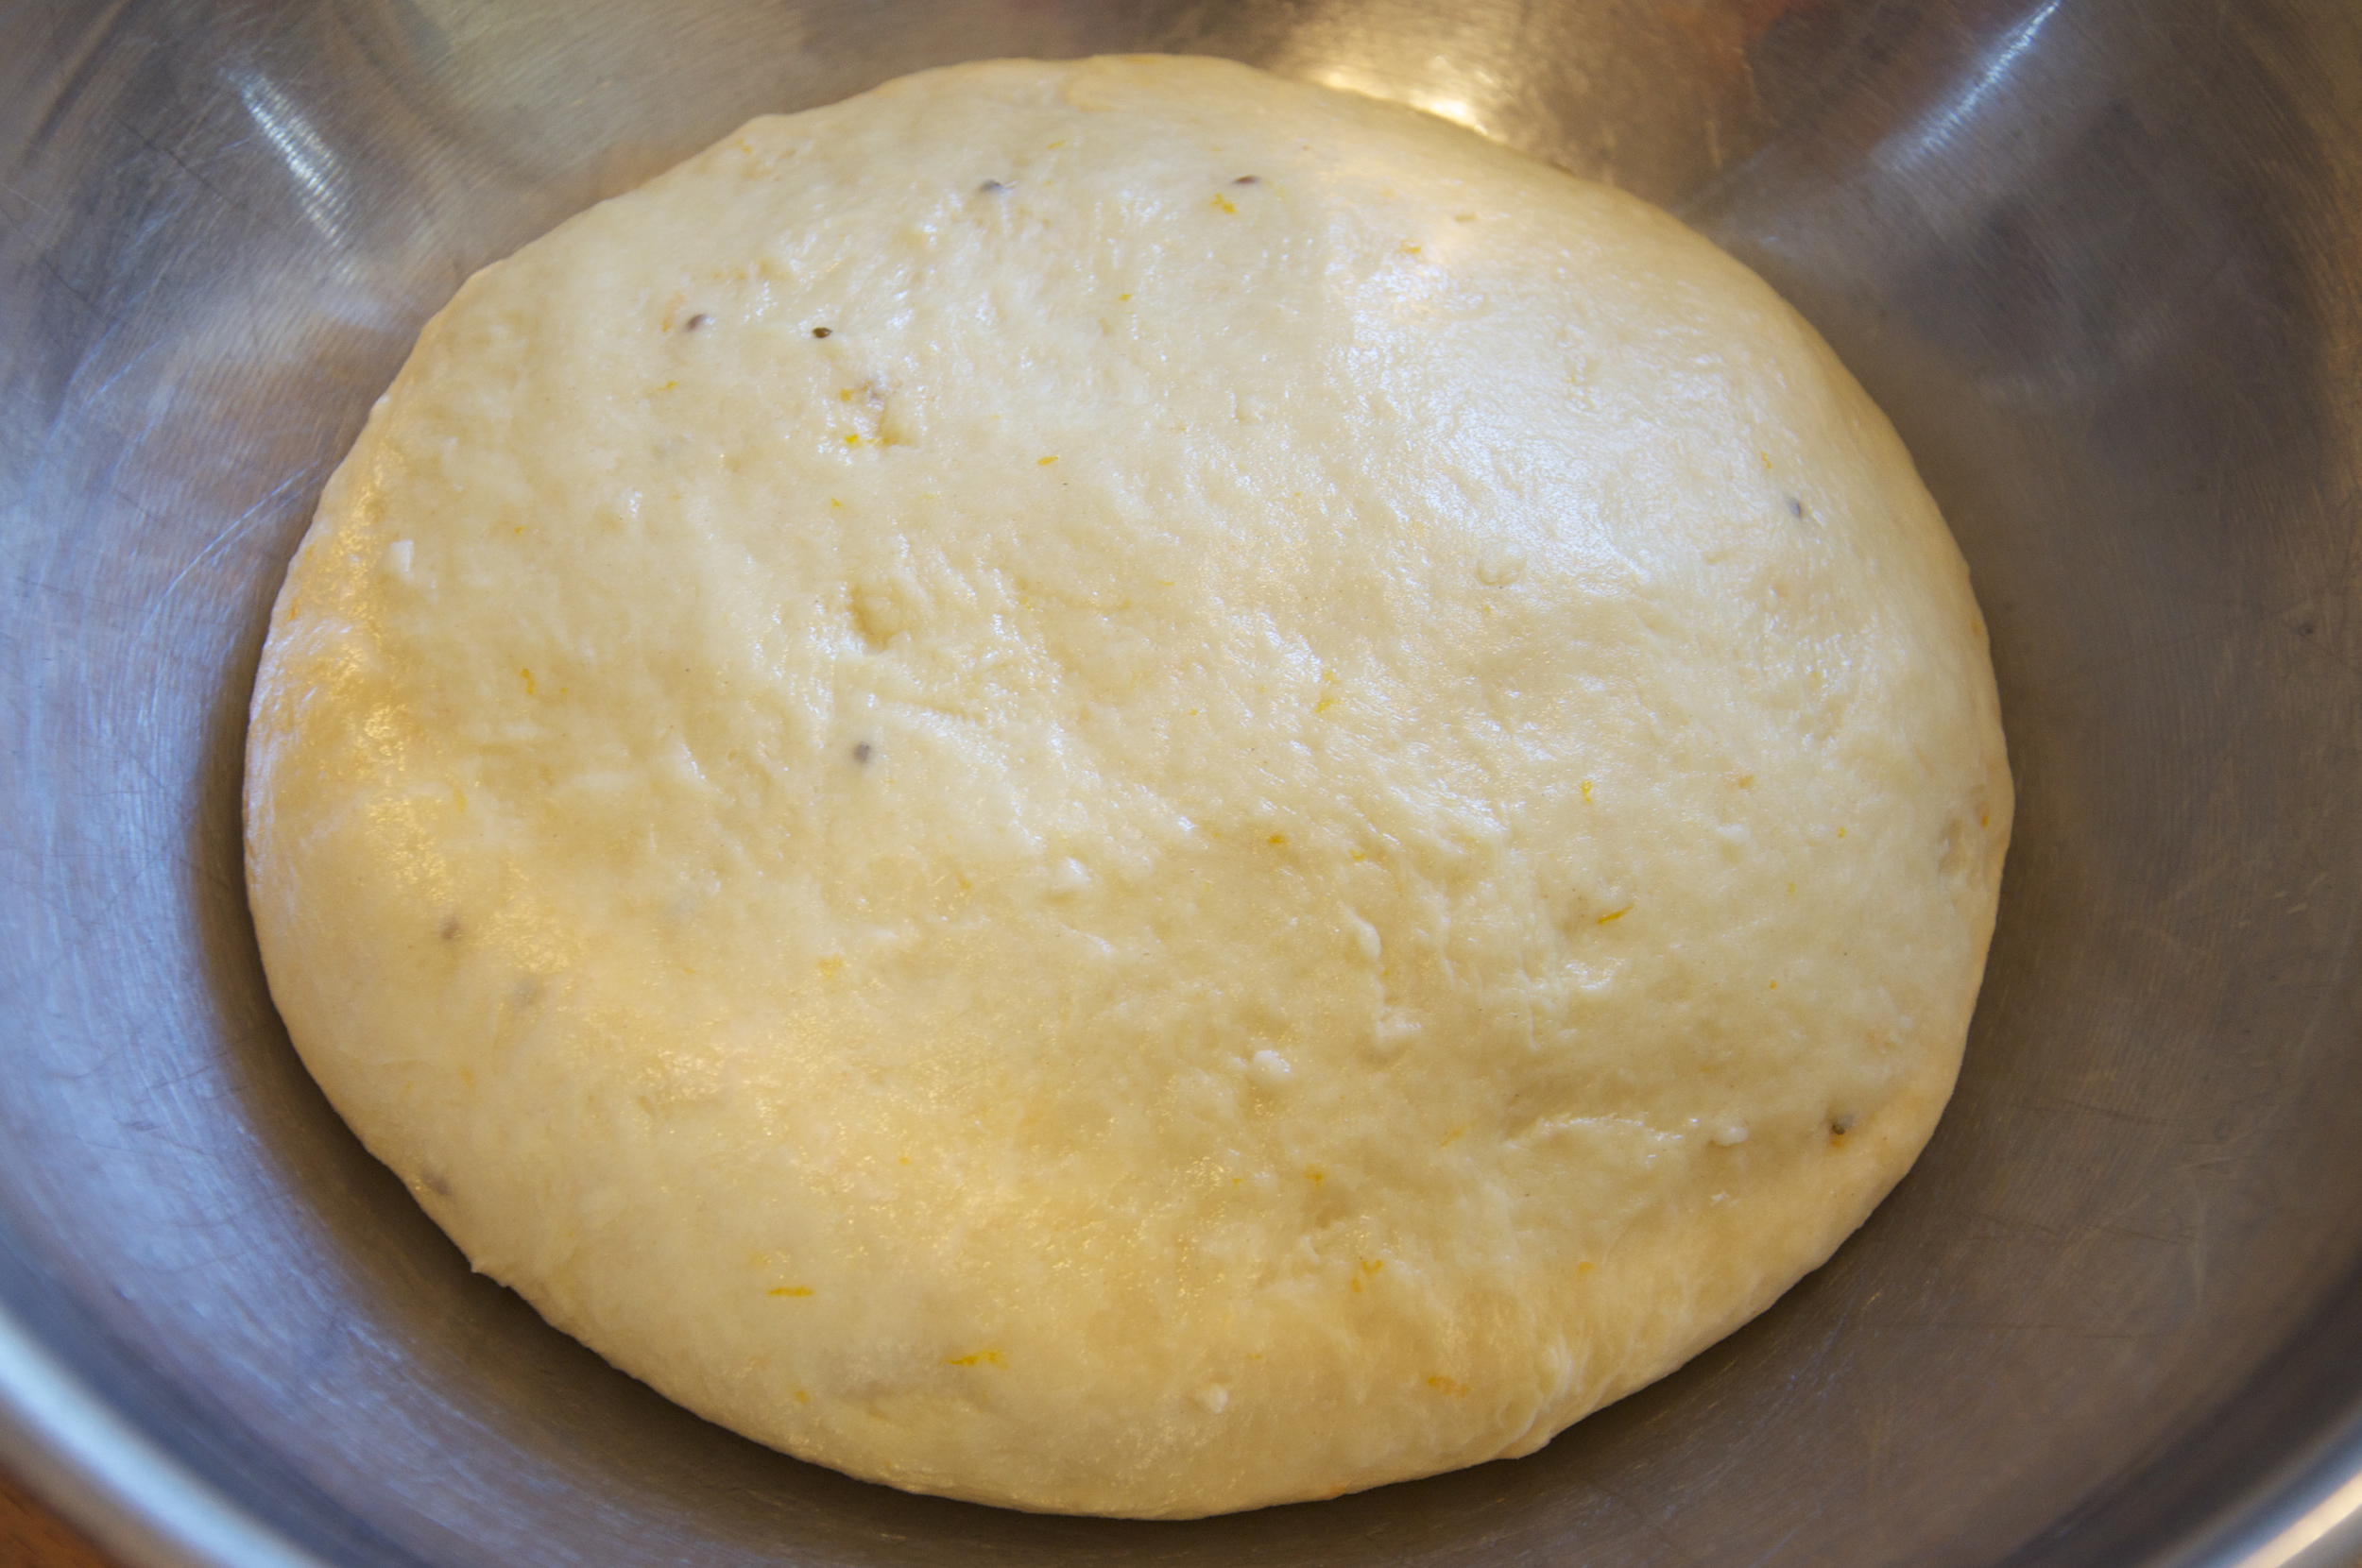
Place dough in an oiled bowl, and cover with a tea towel and let it rest, until doubled in bulk, 1-2 hours, depending on how hot your kitchen is.

After one or two hours, the dough will have risen until it has doubled in size. Time to continue...
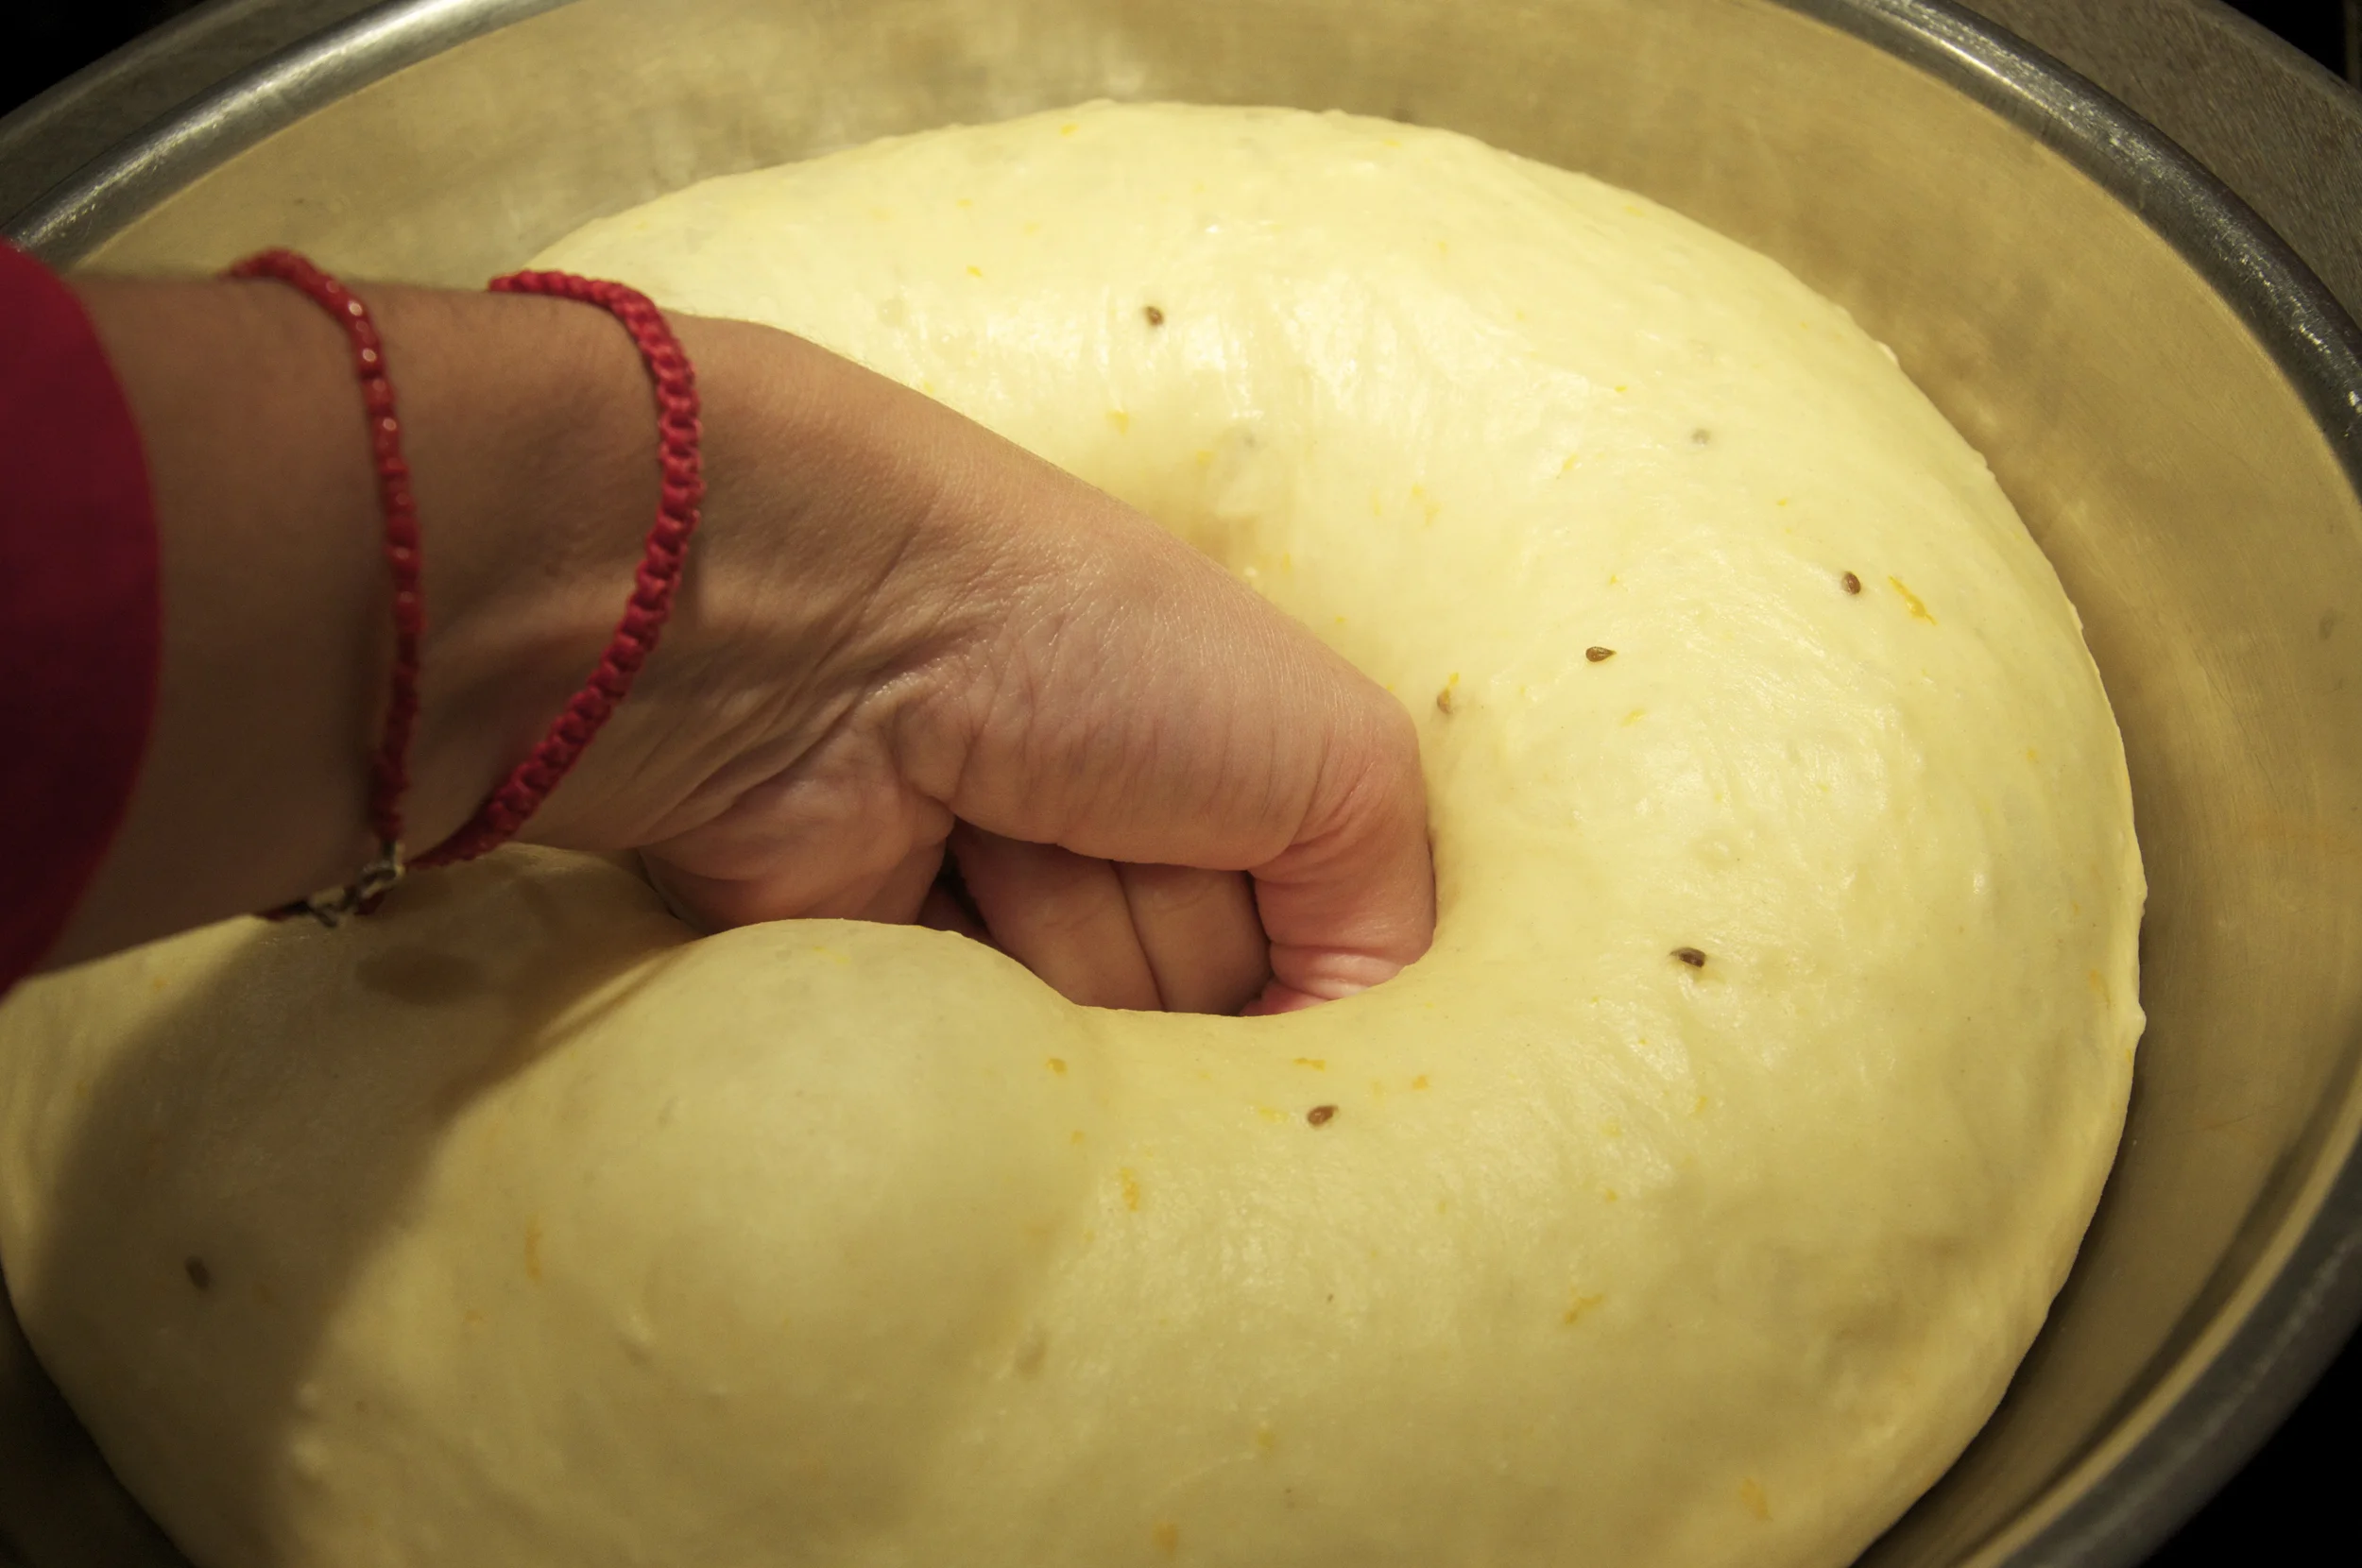
Punch down the dough. Yes, literally. You want to remove all the air bubbles to continue working with the dough, so knead it a bit until there is no air left.

Divide your dough in up to three parts. I like making two smaller loaves so I can share, but if you want, you can make one large one, two medium ones or three small ones. In any case, for every loaf, you want to have a big piece of dough and from that one piece, you rip a piece about a third its size, so you can form the bones and skull.
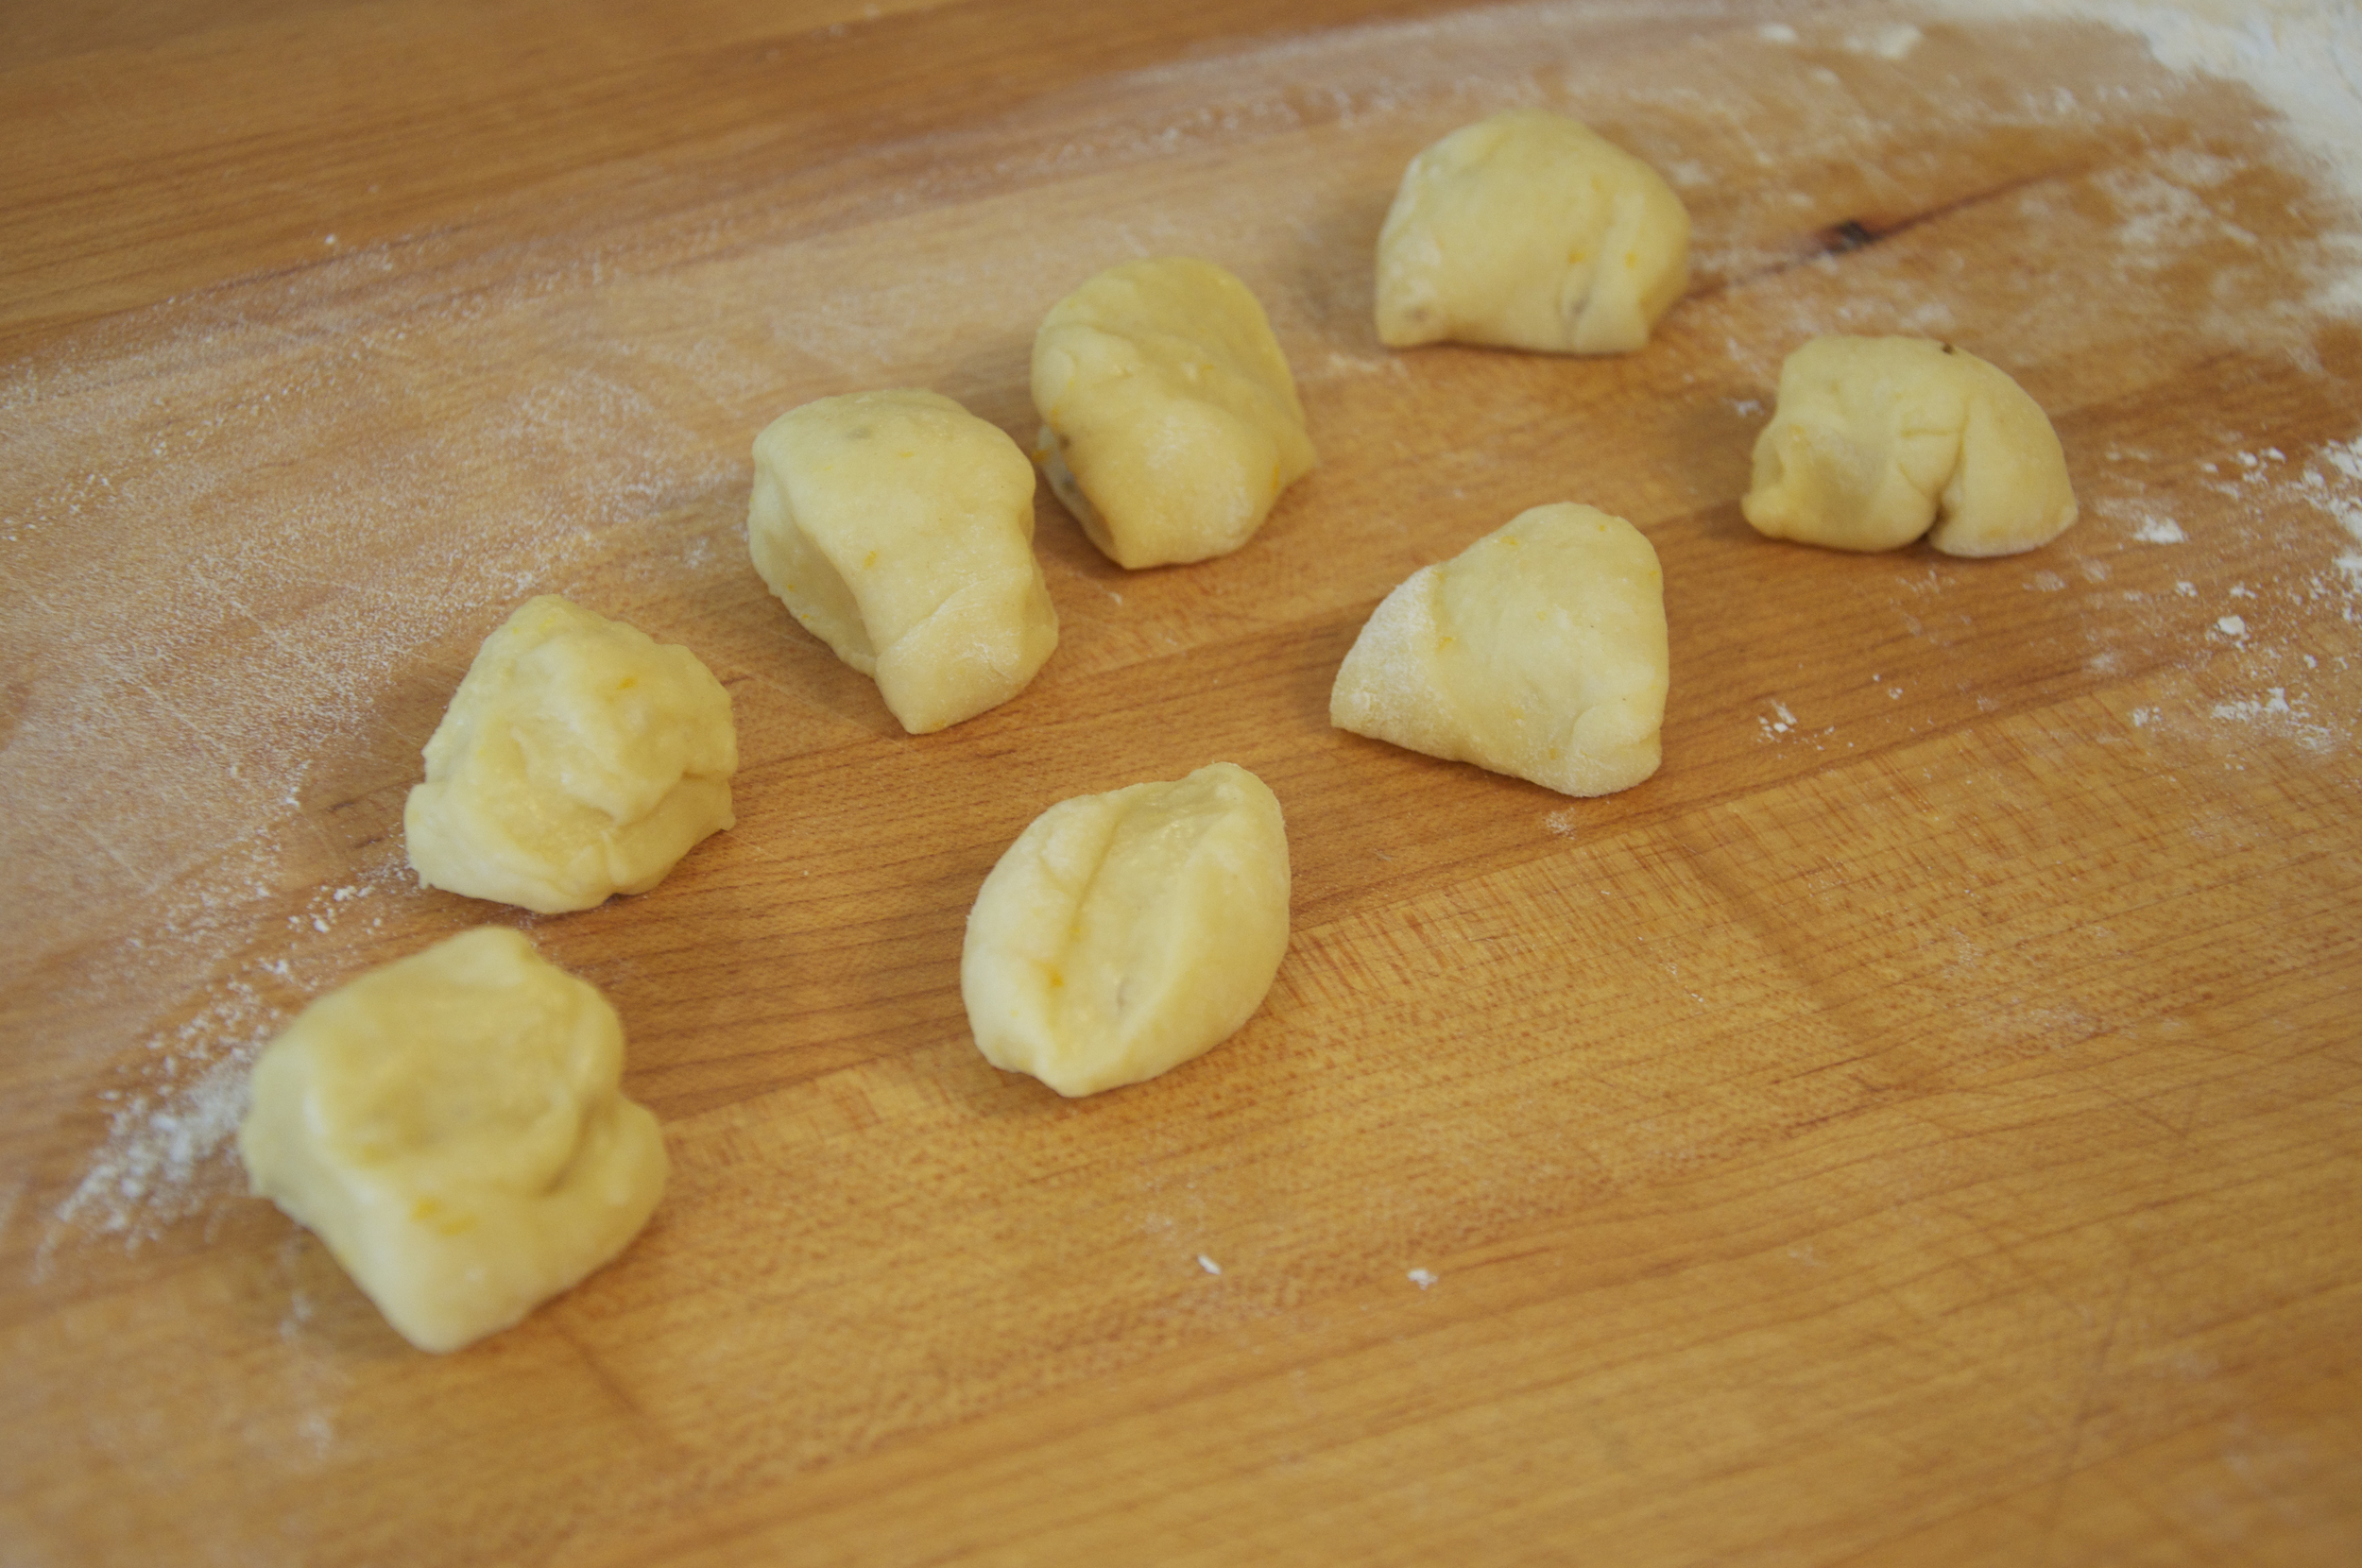
Out of the small piece, make 4 pieces, one of them a bit larger than the other three. In this photo, I am making enough for two loaves.

Out of the smaller pieces, make ropes, and then press at intervals so your rope looks knobby. This will form the bones. The other larger piece, shape as a ball. Place the shaped pieces on parchment and they are ready for the next rising.
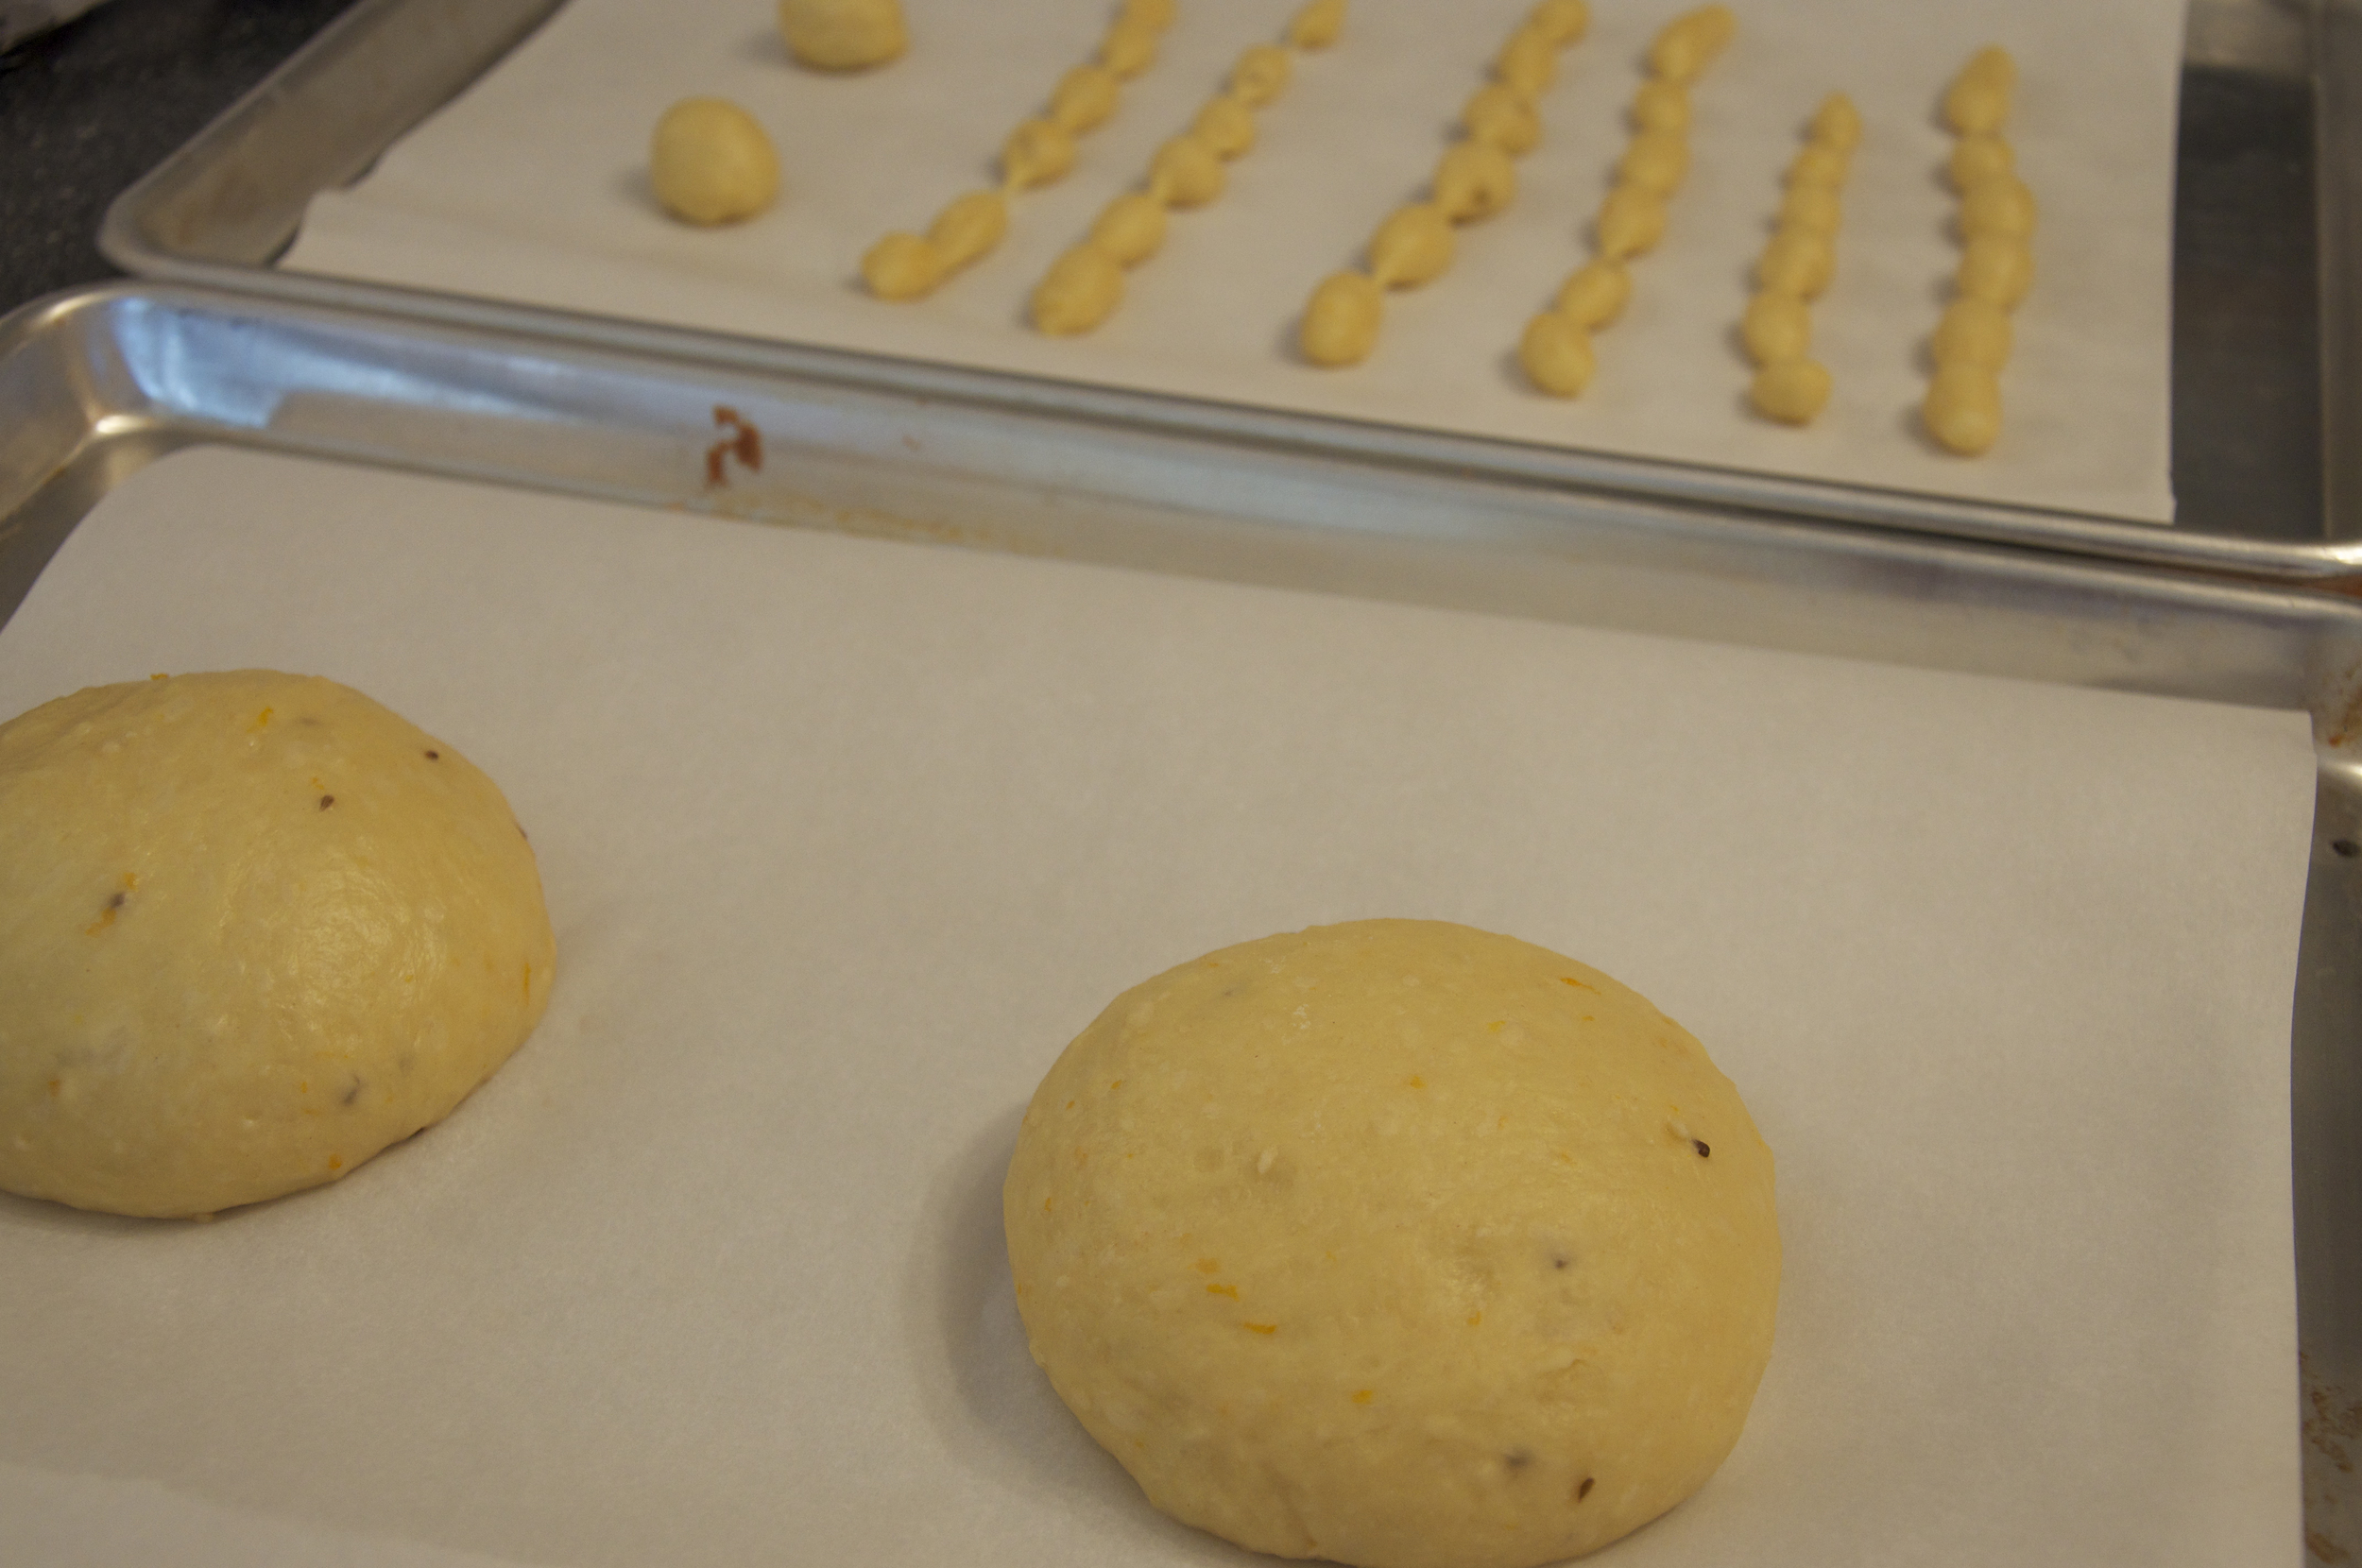
Shape the large piece of dough as a ball and place on parchment for the next rising.

Place a tea towel over the bread dough and let rise in a warm place, until it puffs up a bit more.

After an hour or so of rising, you can place the bones on the large loaves, pressing gently so they adhere. The "skulls" go right on top.

Brush shaped loaves gently with egg yolks, making sure you get in all the nooks and crannies. Bake loaves for 15-20 minutes, or until they sound hollow when tapped. If you think they are browning too fast, decrease the temperature to 350°F. Bring finished loaves out and let cool for a of minute on the baking trays.

Have your melted butter and sugar ready for when the loaves come out of the oven. As soon as you can handle the loaves, brush with melted butter. The loaves have to be hot for the sugar to stick to the melted butter on the loaf.
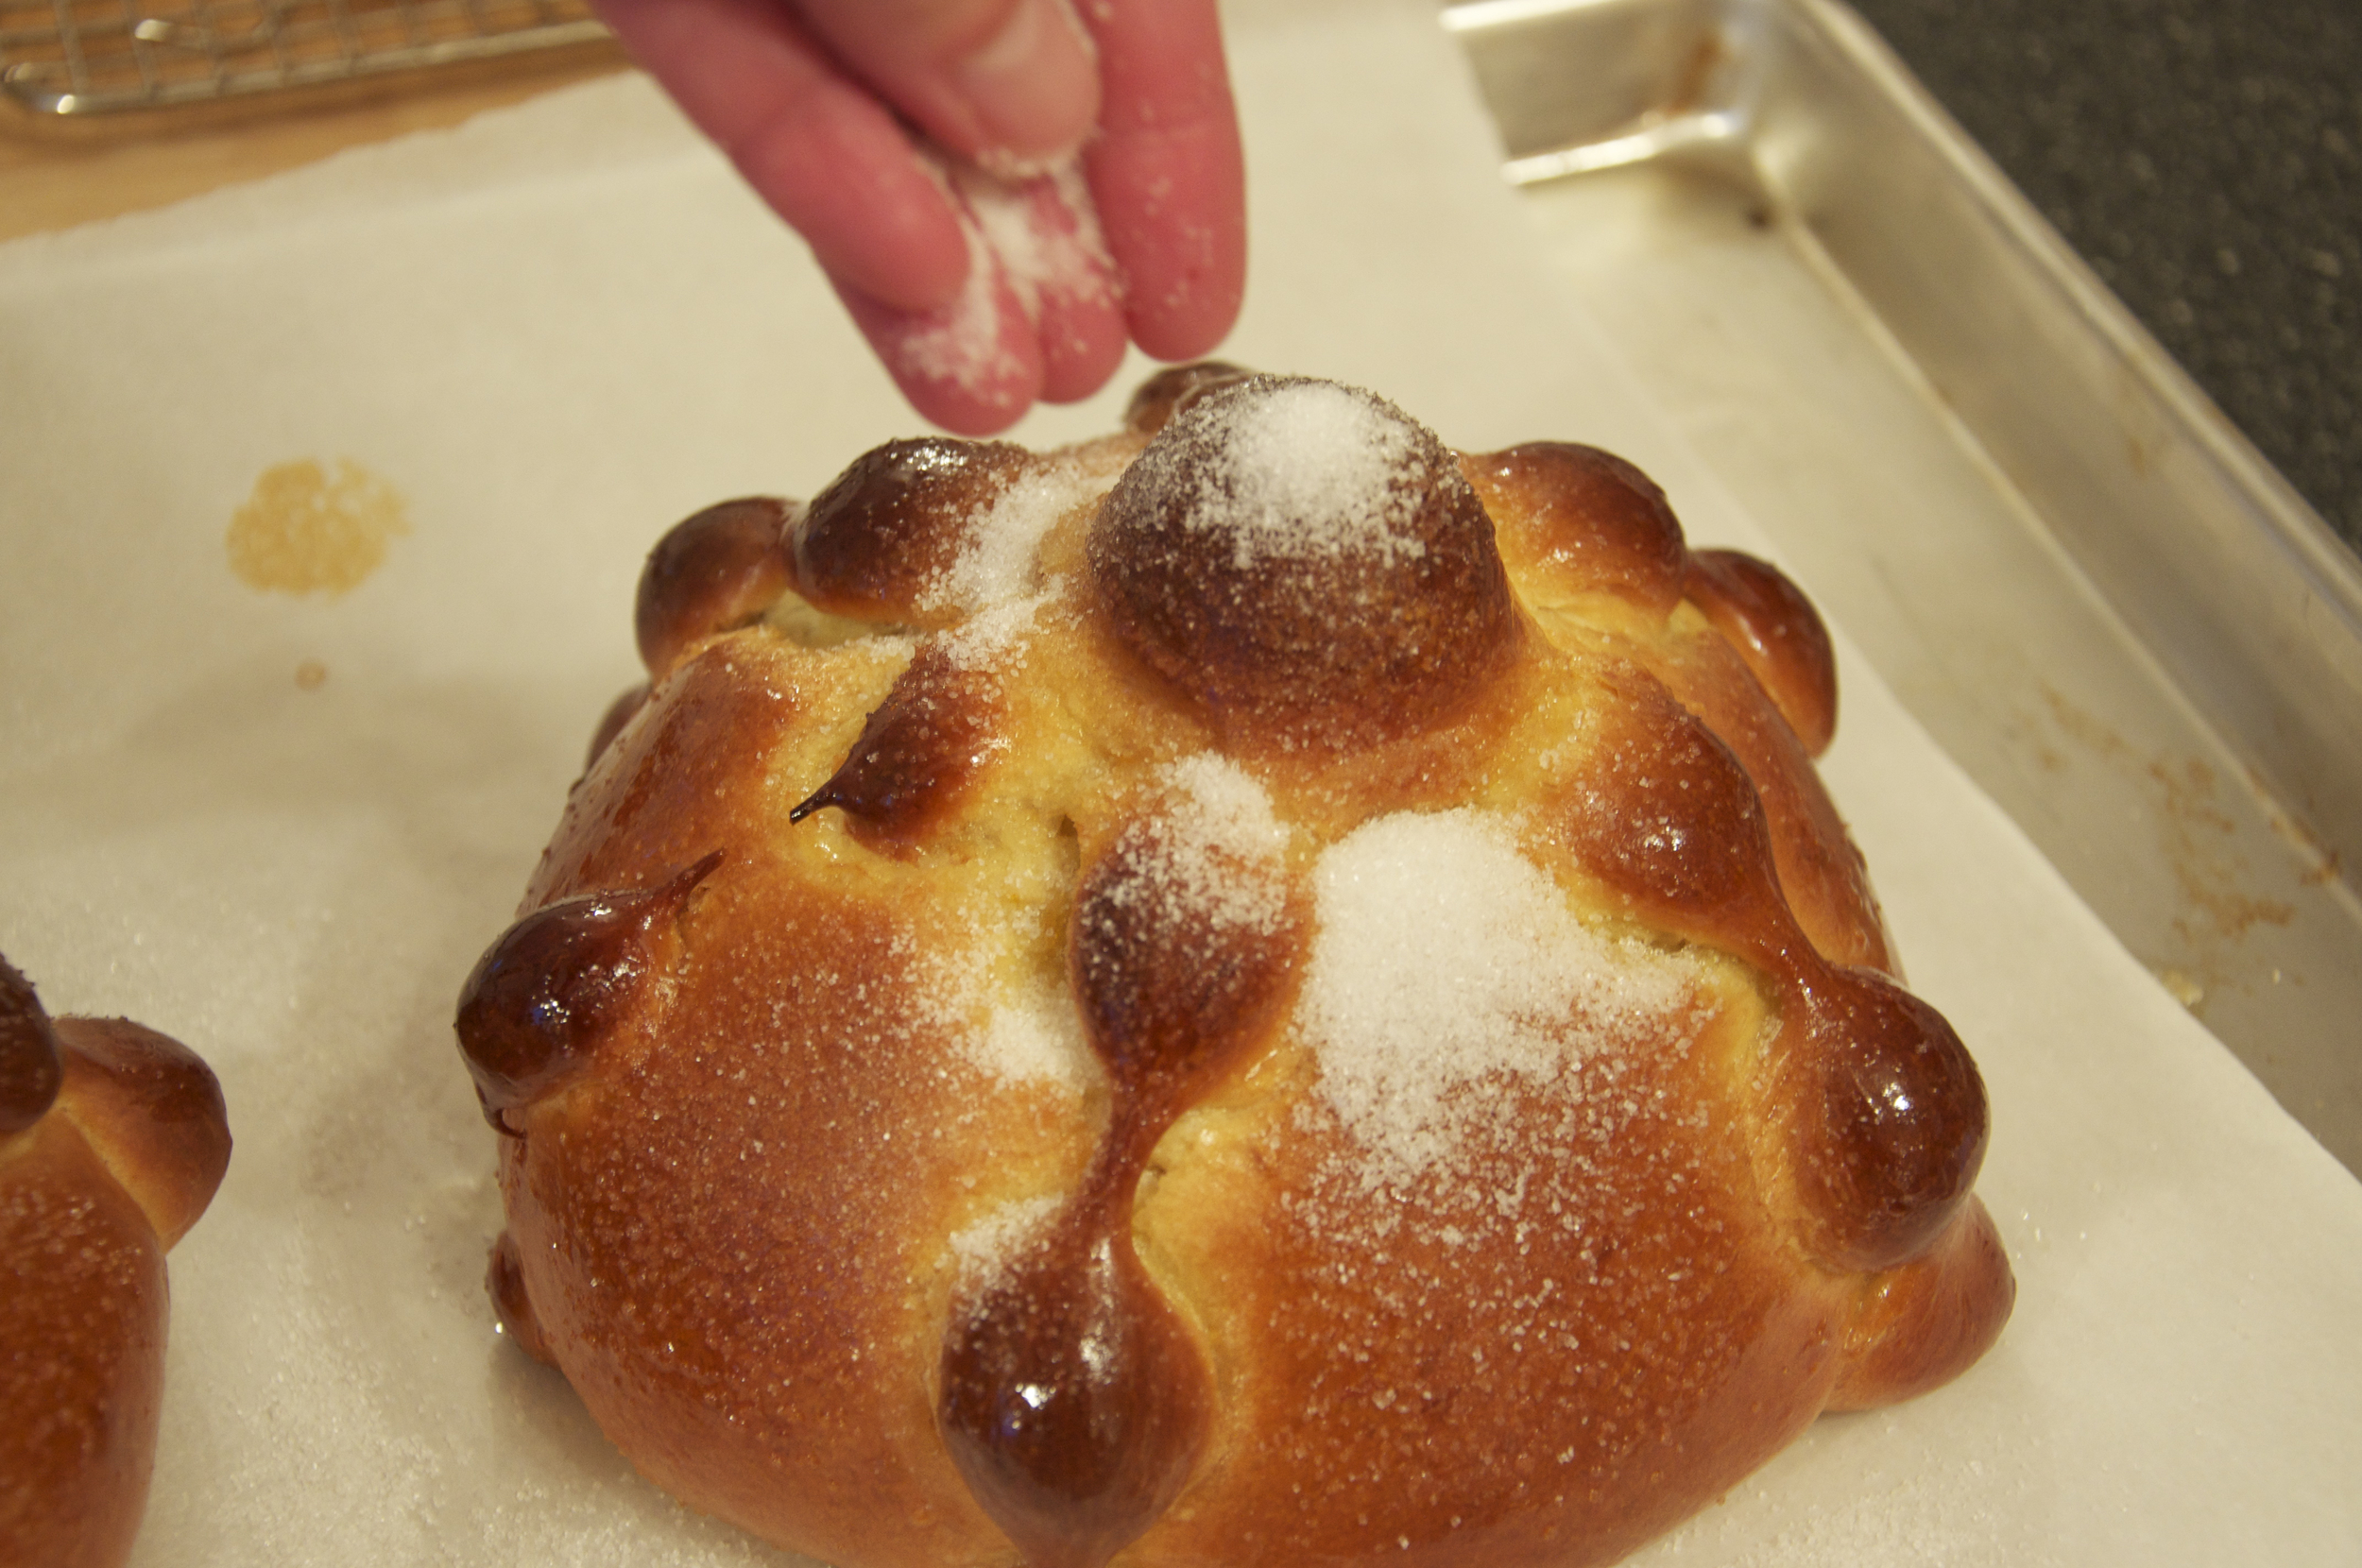
As soon as you brush them with butter, sprinkle liberally with sugar, so it sticks to the melted and warm butter.

Set parchment and loaves over a wire rack and let cool, at least two hours before you cut them.
Serve your Pan de Muerto with steaming mugs of Mexican hot chocolate. This bread is best enjoyed the day it's made, but if you wrap it properly, it can last for a day or two. If you have leftovers, warm them up a bit before serving.
I hope you make this bread and most of all, I hope you enjoy it!!
Feliz Dia de Muertos!
Maria Amalia
P.S. Notes from my testing:
This year I made a double batch of starter. With the first half, I made one batch of bread immediately after the starter had risen. The resulting bread was very good.
With the second half of the starter I made a second batch, but the starter rested for three days in the fridge, until I had time to make the second batch. I let the starter come to room temperature and continue to rise for a few hours before I used it.
This time around, I did not have a fresh orange for zest, so I used orange flower water - using 1 tsp in the recipe. I also increased the amount of aniseed to 1 tsp, instead of 1/2 tsp. The resulting bread was superior to the first batch in terms of texture. I thought the orange flavour was too subtle, so in future, if I use orange flower water, I will increase the amount to 1 Tbsp instead. I still believe using orange zest gives a better taste. I love the flavour of aniseed, so I think adding more is a great idea.
The other thing I did differently was that I rotated the trays after 17 minutes of baking, bringing the top tray to the bottom and the bottom one to the top rack in the oven. This gave the breads a more even cooking on the bottom crust.